Design flow: From sketch to 3D garment (left) to real (right)
Creating a Virtual 3D Prototype
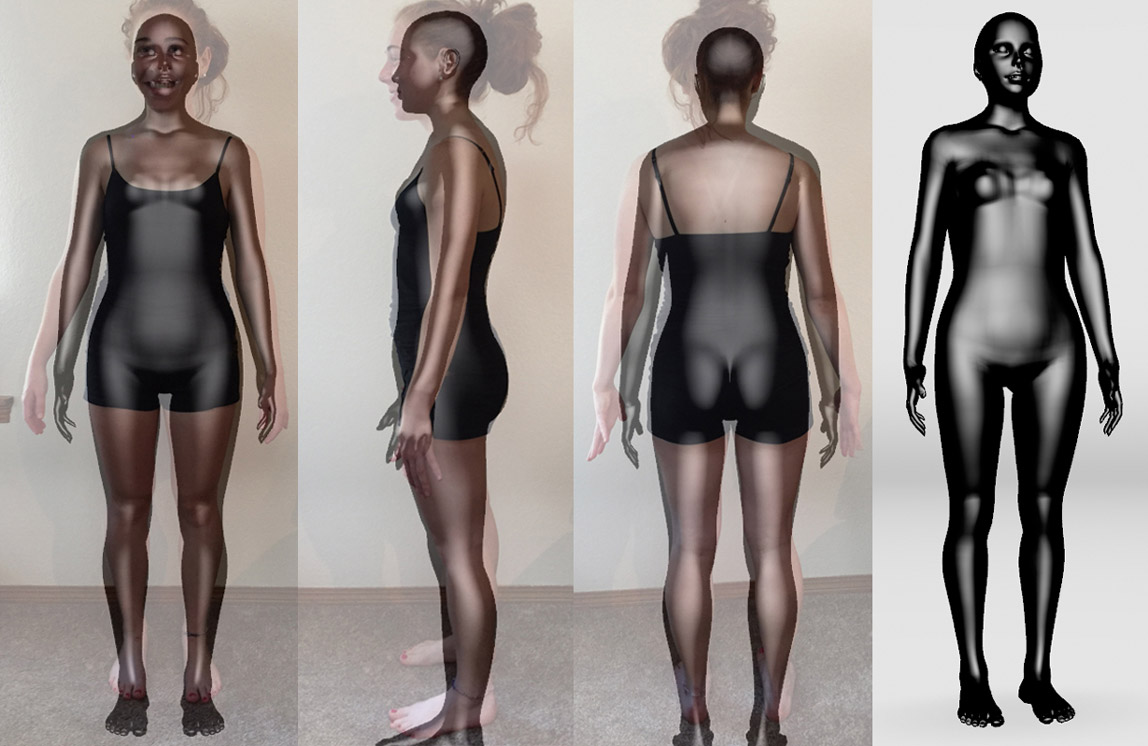
Recently, we challenged Browzwear student intern Alyssa Kiriakedis of Oregon State University, to create a virtual garment prototype in Browzwear’s VStitcher that could eventually be compared to a sewn sample, fitted specifically to her own body. She first created an avatar based off of her own body measurements and shape. She then drafted garment patterns, observed fit issues seen on her 3D prototypes, and adjusted her garment patterns accordingly.

Avatar Creation Process
Fabric Testing and Garment Construction
Alyssa tested the specific fabrics she planned to use for constructing the garment and brought their physical properties into VStitcher to ensure her 3D prototype was displaying the proper physical attributes.

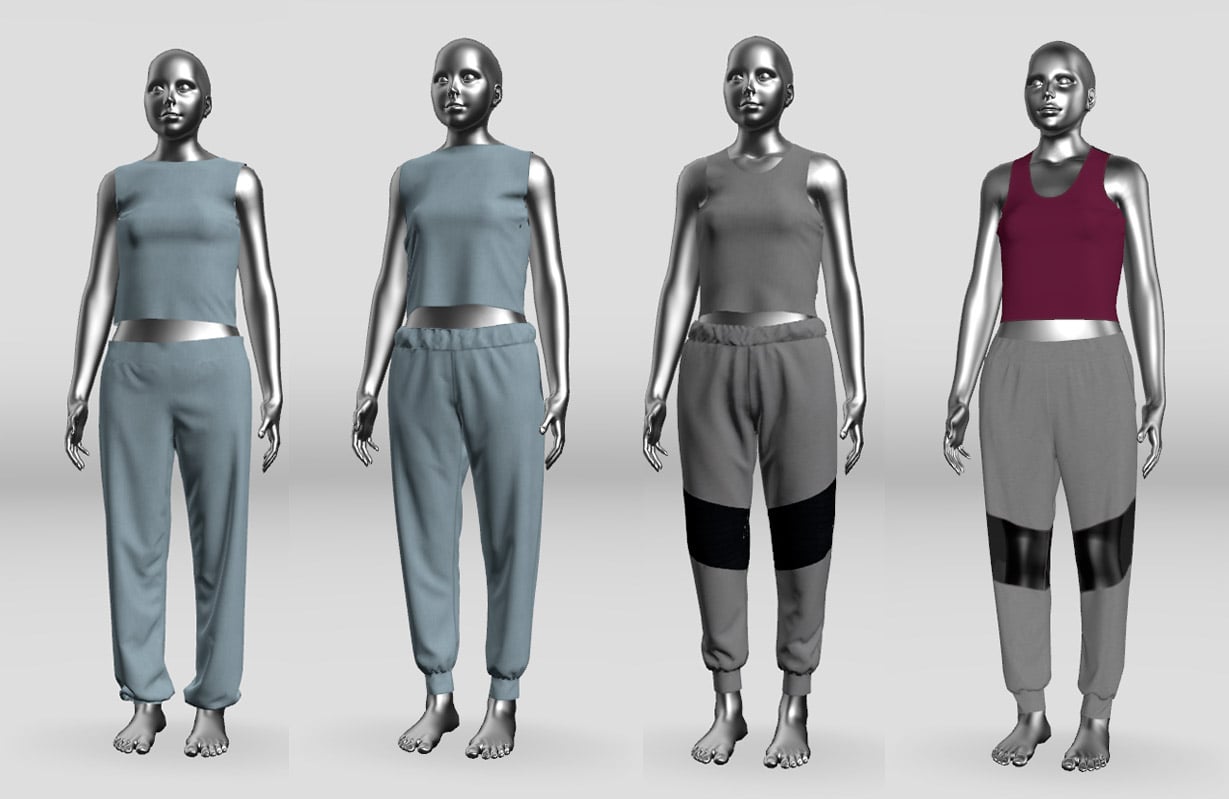
Prototype Progression
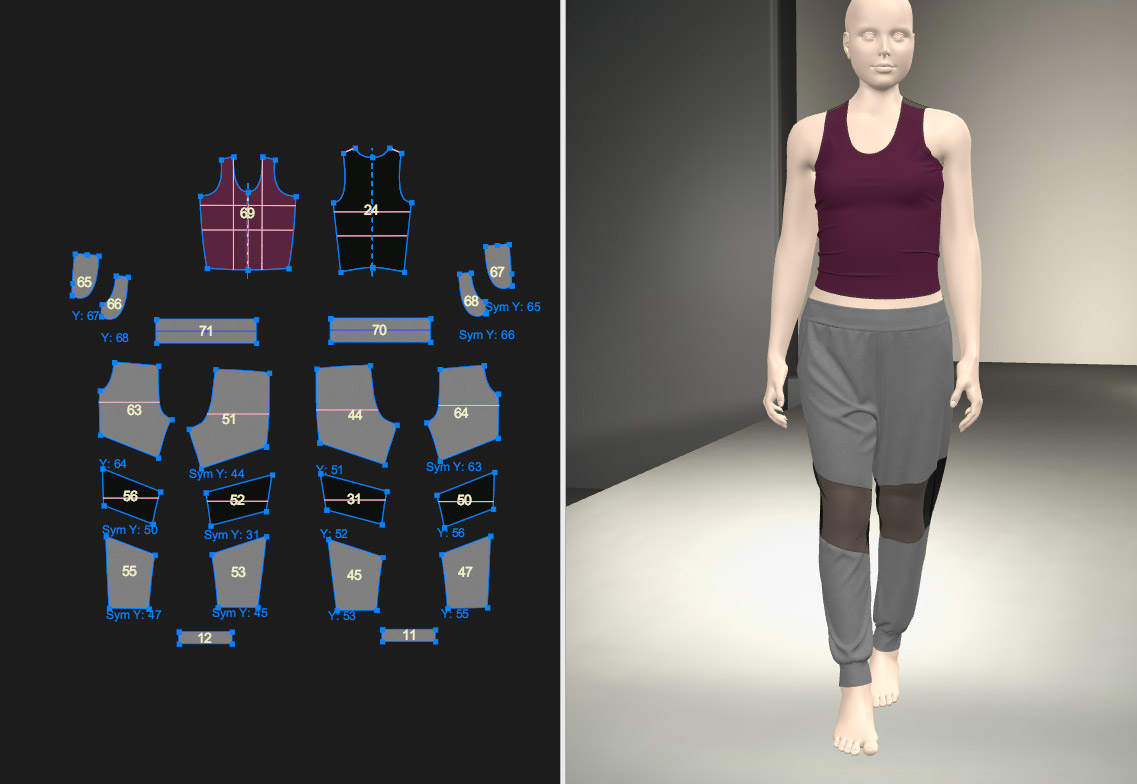
After achieving the desired 3D prototype, she printed her garment patterns in full-scale and sewed a real-life prototype, which enabled her to observe the accuracy and effectiveness of a 3D apparel development process.

Final pattern and Prototype
The Final Result: True-to-Life 3D
Going into the project, Alyssa was not sure that the final garment would turn out the way she imagined.
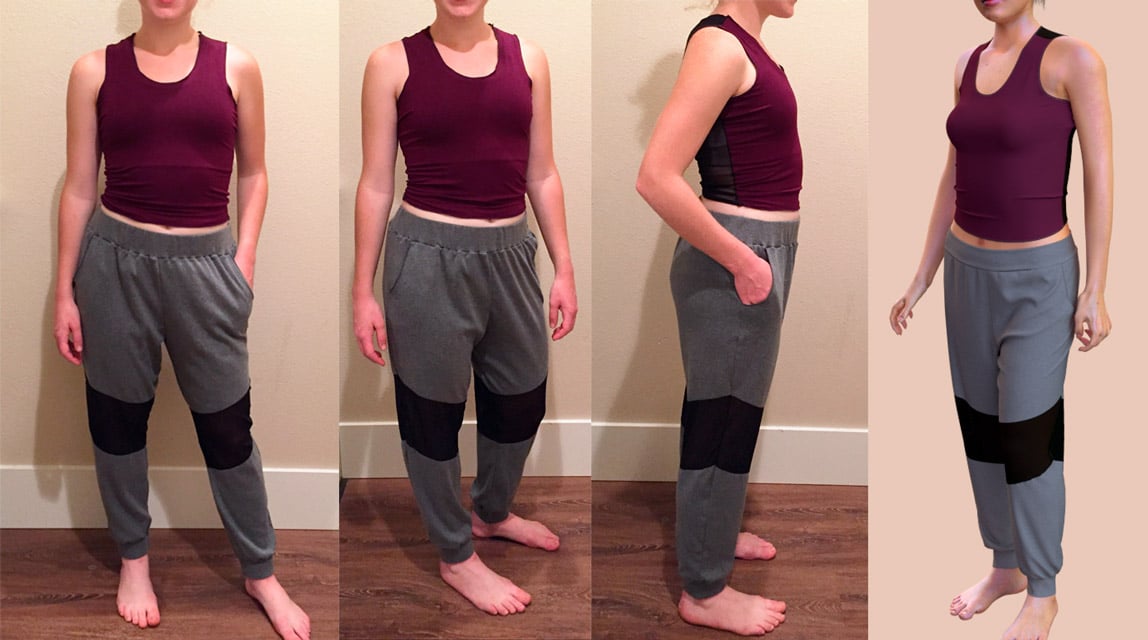
“I had done my best at creating an avatar accurate to my body and creating a 3D prototype that fit my avatar; however, with no real-life samples I couldn’t physically check that my work was accurate,” Alyssa said. “Once I reached the final stage of the project and constructed my garments, I was thrilled to find that not only did they fit me, but they also draped quite similarly to how the program had portrayed them in 3D.”
Alyssa says that working through her project instilled trust in the 3D development process and got her excited to experiment more with the potential of 3D in the apparel industry.
To read more about Alyssa’s project or to see screenshots and images, visit her portfolio site

Sewn Garment Views (images on the left) with 3D Render (far right)